F116 - CRM - Customer Relationship Management

Overview

The Customer Relationship Management (CRM) features in iGo360 manages and organizes communications and information for members, prospects, and employees. CRM allows recording notes, storing documents, assigning tasks, reviewing notification history, creating message templates, and sending communications to groups of recipients.
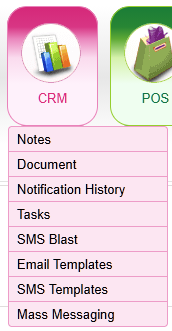
Overview screenshot

Topics Covered

•Notes
•Documents
•Notification History
•Tasks
•SMS Blast
•Email Templates
•SMS Templates
•Mass Messaging

Notes

Notes can be added to members, prospects, and employees to record important information.

Add a Note

1.Go to the person's record
2.Click the Notes icon on the Relate Bar
3.Click Add Note
4.Enter the note
5.Click Save

The note is saved with the date and time it was created.

View, search, edit, or delete an individual’s notes

1.Go to the person's record
2.Click the Note icon
3.The list of all the notes for that person will appear along with search options, edit options, and delete options

View All Notes

Select CRM > Notes

Displays all notes in chronological order. Click any note to open the associated person's record.
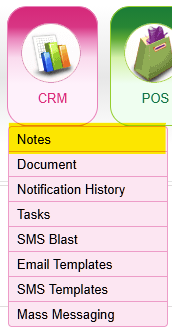

View All Notes screenshot

View All Notes screenshot

Documents

Documents can be uploaded and stored for members, prospects, and employees.

Uploading a Document

1.Go to the person's record
2.Click the Documents icon on the Relate Bar Documents screenshot
3.Click Add Document
4.Click Choose File
5.Select the file to upload
6.Enter a description
7.Click Save

The document is added to the person's record.

Manage Documents

1.Go to the person's record
2.Click the Documents icon on the Relate Bar
•View documents
•Download documents
•Upload a new version
•Delete documents

View All Documents

CRM > Documents

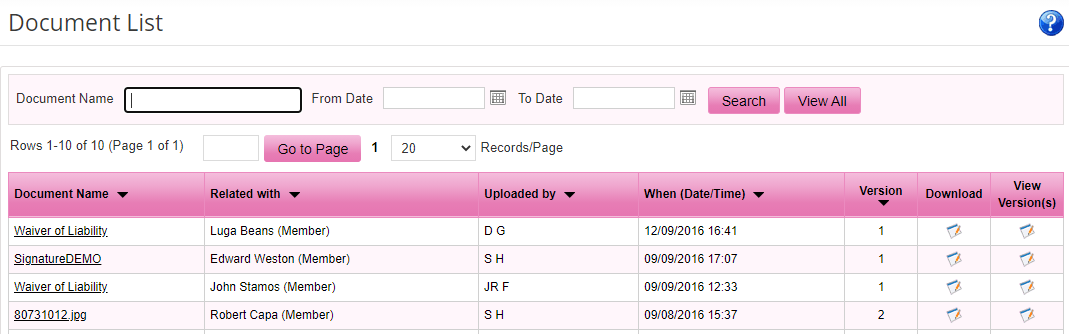
Displays all uploaded documents. Click a Document name to open the record.
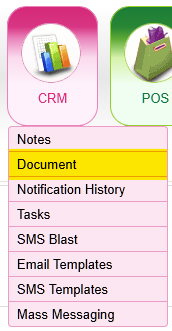
View All Documents screenshot

View All Documents screenshot

Notification History

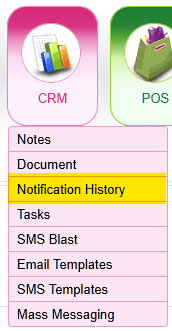
Notification History screenshot

View All Notification History

CRM > Notification History

Displays all sent email and SMS notifications chronologically, including recipient information and delivery status.
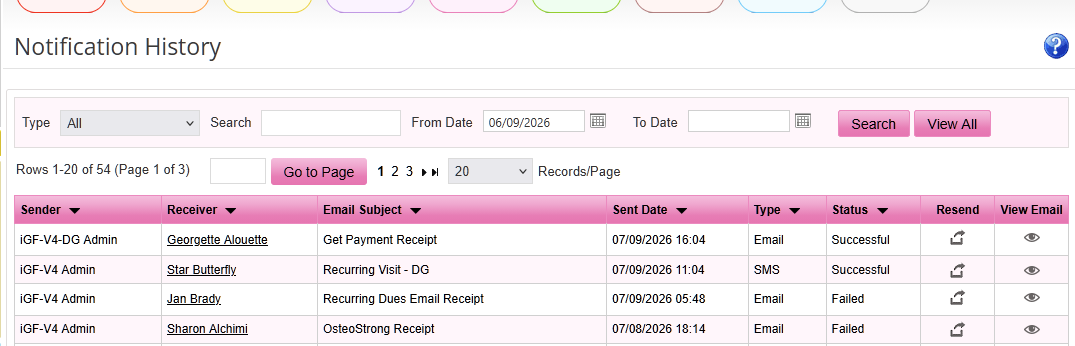
View All Notification History screenshot

Individual notification history is available in member or prospect record History tab by selecting Notification History.
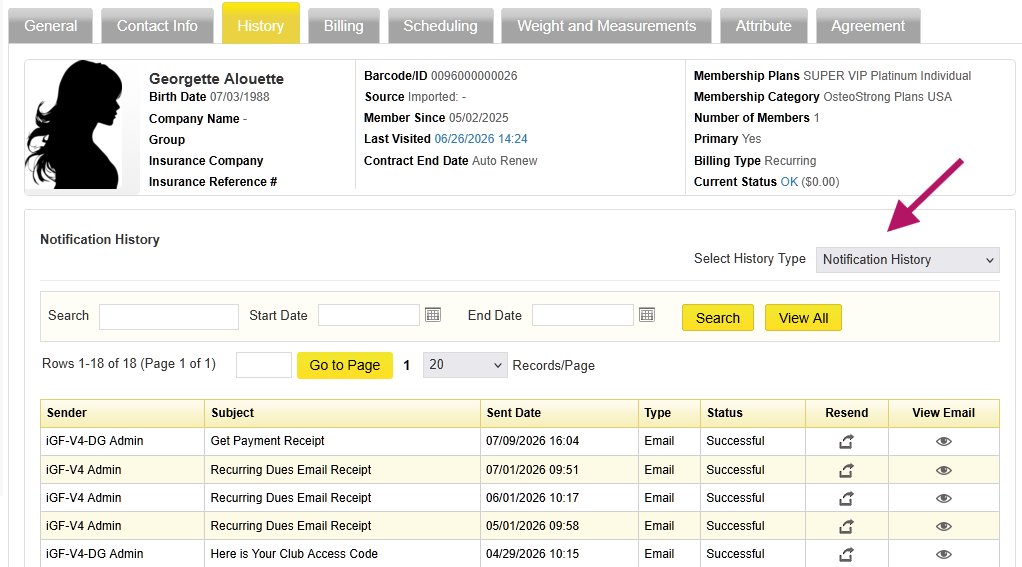
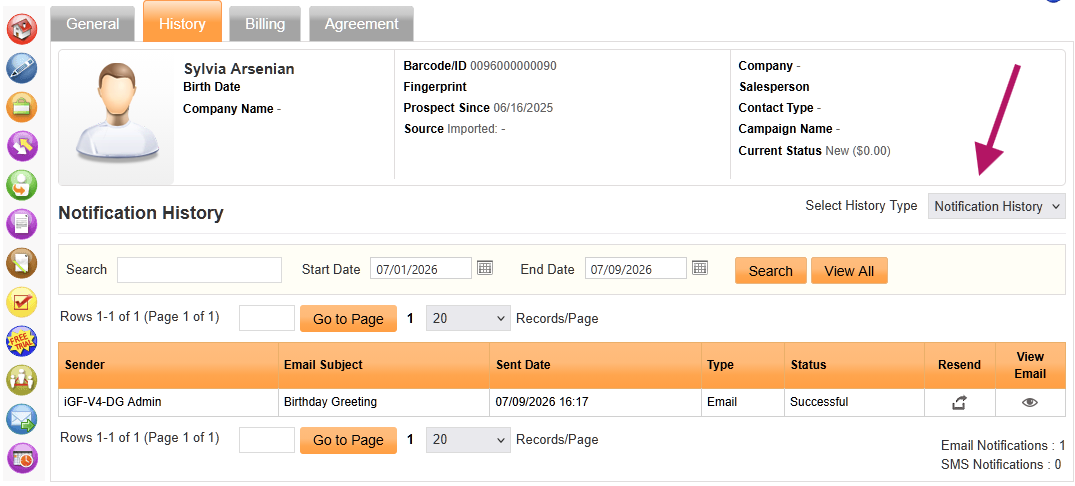
View All Notification History screenshot

View All Notification History screenshot

Tasks

Tasks can be assigned to members, prospects, and employees

Create a Task

1.Go to the person's record
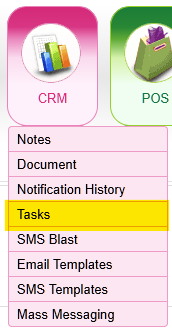
2.Click the Tasks icon on the Relate Bar Create a Task screenshot
3.Click Add Task.
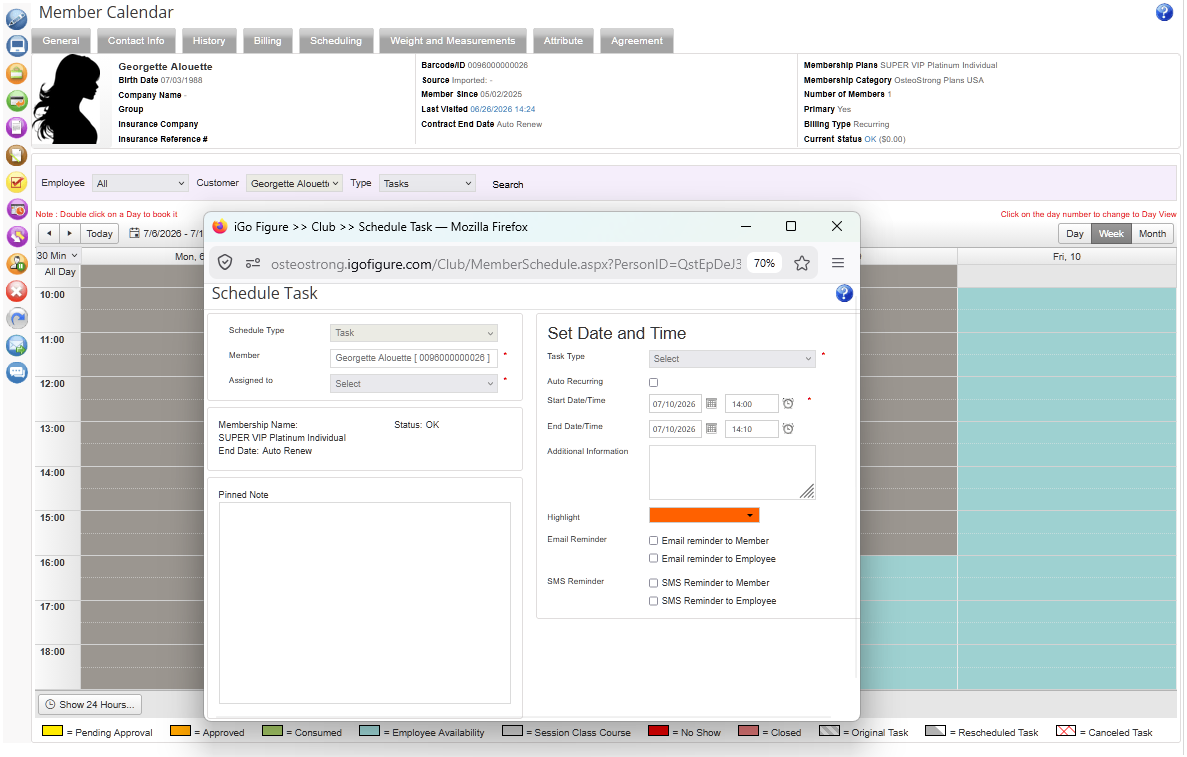
4.Double-click the desired date and time on the calendar
5.Complete the task information
6.Click Save

The task is added to the calendar

Create a Task screenshot

Create a Task screenshot

Task Fields

Field

Description

Person

Populated automatically from the selected record

Assign To

Employee responsible for completing the task

Task Type

Select the task to be scheduled

Start Date and Time

Required

End Date and Time

Optional

Auto Recurring

Creates a recurring task

Result

Optional. Typically completed after the task is finished

Additional Information

Optional notes about the task

View, Search, Edit, Or Delete Tasks

1.Go to the person's record
2.Click the Tasks icon on the Relate Bar

Options available:

•Search
•Edit
•Complete
•Delete

View All Tasks

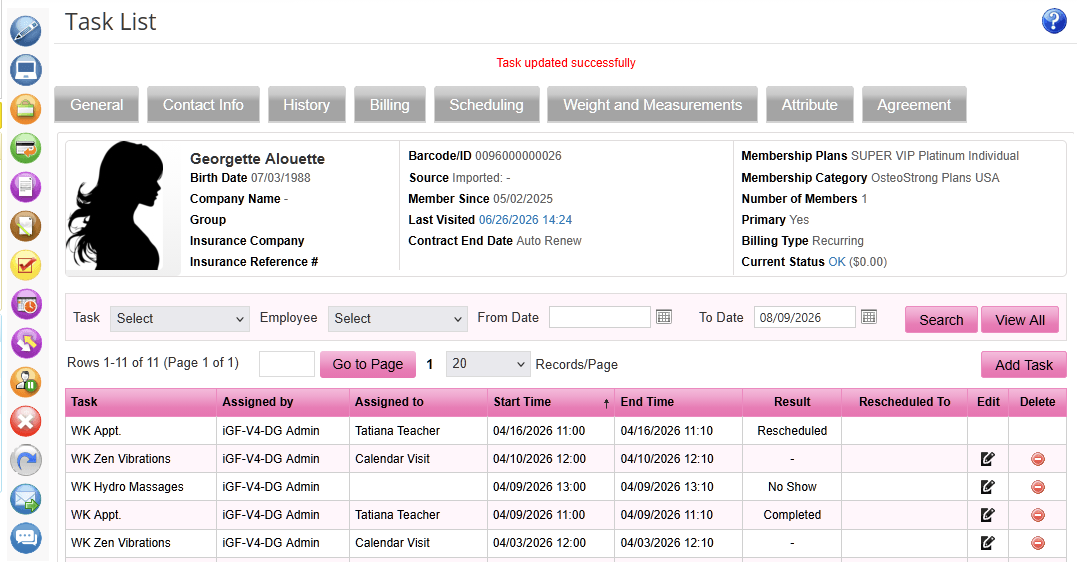
View All Tasks screenshot

CRM > Tasks

Displays all scheduled tasks. Click a task to open the associated person's record.
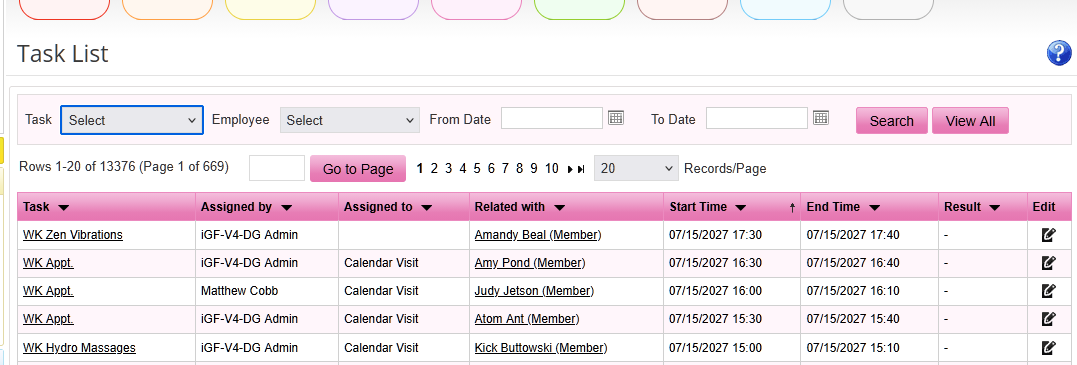
View All Tasks screenshot

SMS Blast

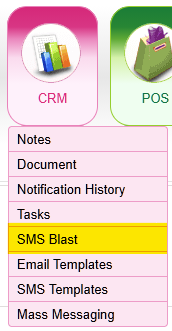
SMS Blast screenshot

SMS Blast allows text messaging to multiple recipients at one time

CRM > SMS Blast

Use SMS Blast to compose and send text messages to a selected group of members or prospects based on available filters.

Note: SMS messaging requires active SMS integration and may be subject to messaging regulations and carrier requirements.
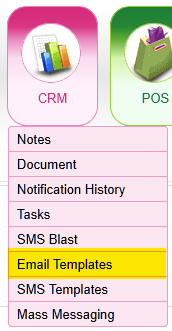
Email Templates

Email Templates screenshot

Email Templates allow creation of reusable email messages for common communications.

Create an Email Template

CRM > Email Templates

1.Click Add Email Template
2.Enter a Title
3.Enter a Subject
4.Enter the email message
5.Click outside the editor to collapse the text area
6.Click Save

The template is available for future use
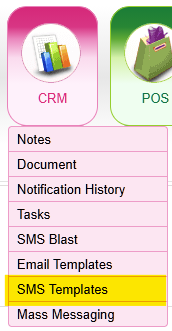
SMS Templates

SMS Templates screenshot

SMS Templates allow creation of reusable text message templates.

Create an SMS Template

CRM > SMS Templates

1.Click Add SMS Template
2.Enter a Title
3.Enter the SMS message
4.Click Save

The template is available to send SMS messages
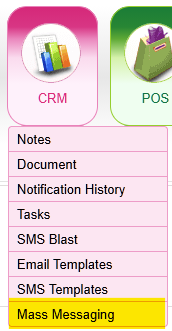
Mass Messaging

Mass Messaging screenshot

Mass Messaging allows sending email or SMS communications to multiple recipients.

CRM > Mass Messaging

1.Select the recipient group using the available filters
2.Choose Email or SMS as the message type
3.Select an existing template or compose a new message
4.Review the recipients
5.Send the message

Note: Available messaging options may vary based on user permissions configuration.

Notes

•CRM features are available for members, prospects, and employees
•Documents remain associated with the person's record until removed
•Tasks assigned to a user also appear on the iGo360 Home Page
•Notification History displays sent notifications
•Email and SMS Templates help maintain consistent communication
•SMS Blast and Mass Messaging require SMS services to be configured